Welcome to this page, these instructions are here to help those who have purchased a flock or are about to build their own, either way I hope this helps with the assembly of the flock.
A DIY kit for the Swallow Kite itself is available so you can build as many as you like. Just contact me for more info. contact
There are a few things to mention before we get started:
- A pilot kite is not necessary but it surely makes launching the flock a lot easier.
- Prepare the kites in advance, assemble the spars and attach secondary lines.
- Having a second person assisting you is a great help indeed, they can pass the swallows on to you as you are in control of the already flying ones.
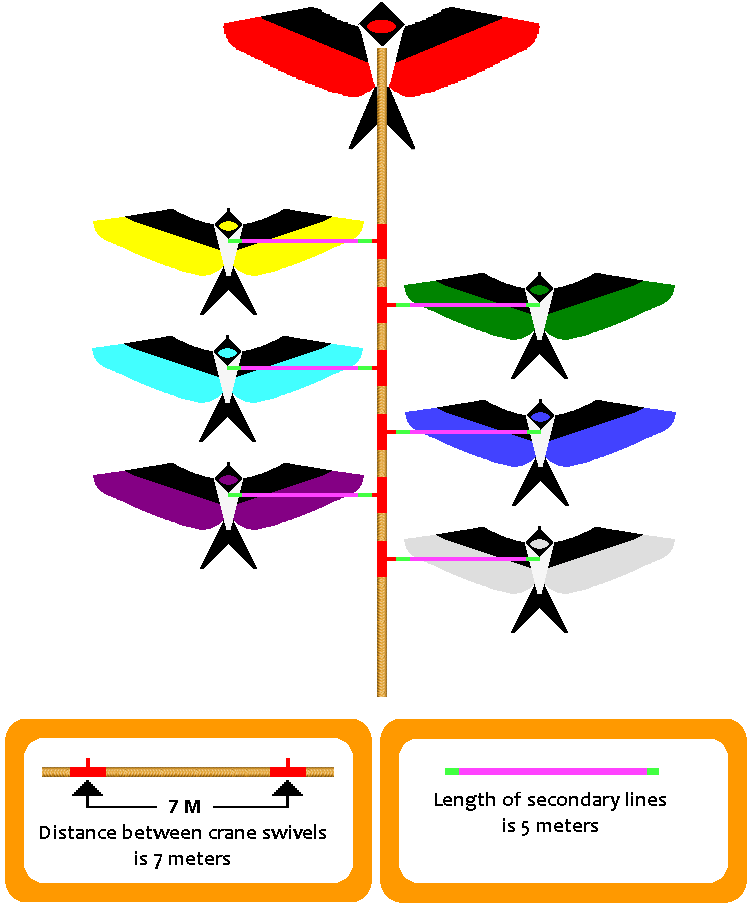
- The Main Line is around 130 Meters long and contains 10 crane swivels, 7 Meters apart, for the standard 10 Swallow Flock package.
- There are 10 secondary lines, 5 Meters Long, one for each Swallow in the standard 10 Swallow flock package and they contain two swivels each, one to clip to the crane swivel and one to clip to the actual Swallow.
Here you see the instruction as to where the spars are placed during assembly.
The top spreader is placed in both wing sleeves, see pictures below.
(Click to see larger versions of all images.)

Make sure the spars are crossed before you place them into the pockets. Looking at the rear side of the kite.
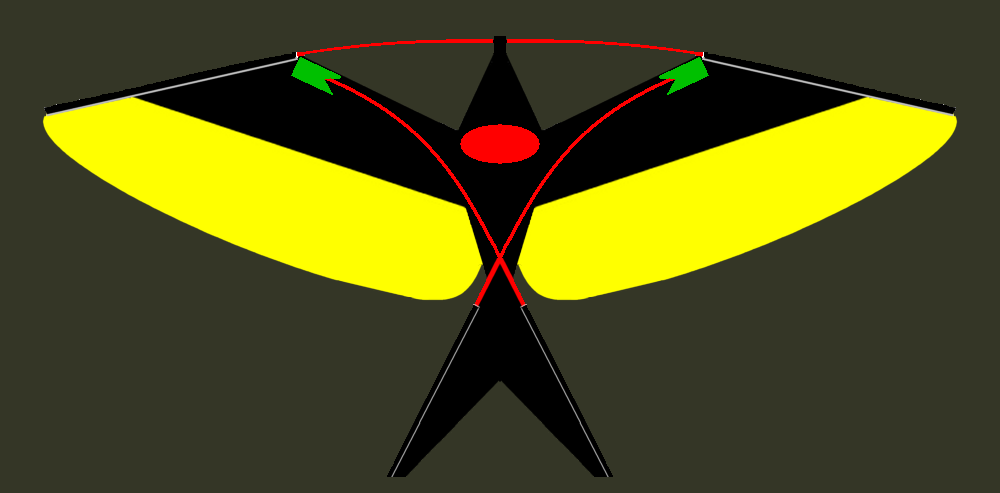
Place them into the pockets that are opposite the tail sleeves. Looking at the rear side of the kite.
The line included, in the package, has 30 meters of line before the first crane swivel. This is to let the pilot swallow gain some good height before we clip the first smaller swallow on the main line.
Tie the Pilot Swallow on to the main line and get it airborne, let the line out till you come accross the first crane swivel.
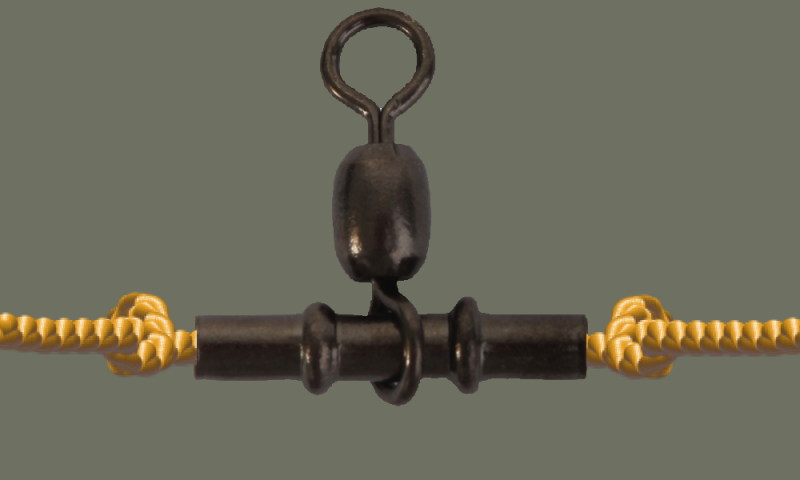
Crane swivel tied on to the Main Line.
Then get your assistant, or yourself, to hand you the first small Swallow kite. Clip the swivel of the secondary line onto the first crane swivel.
Then you can let it out till you come accross the second crane swivel.
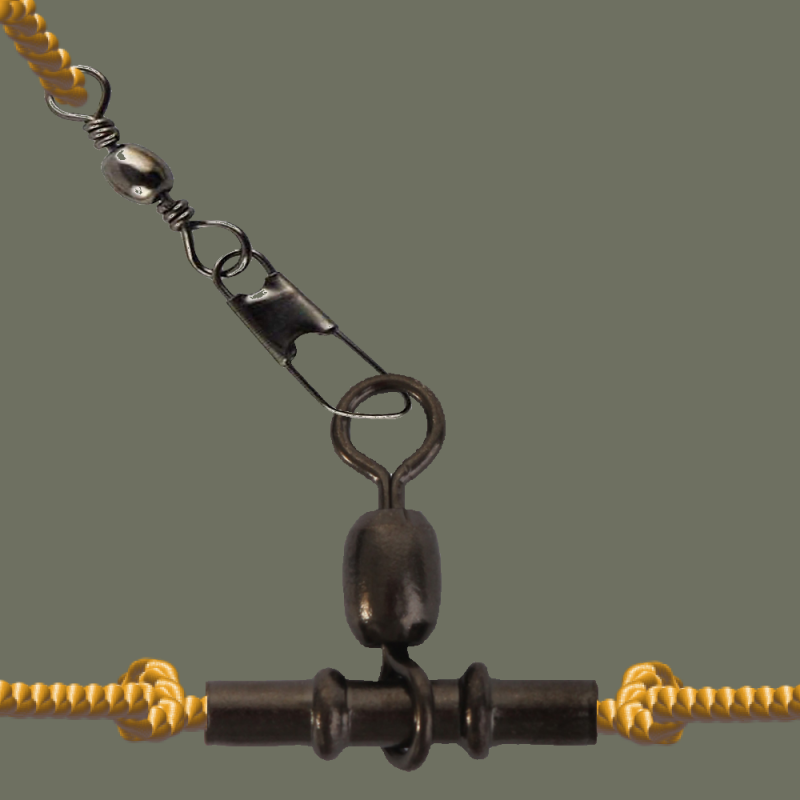
Swivel of secondary line clipped to crane swivel
Then you simply repeat the process. Be carefull as the first swallow may drop to the ground, do not fear because the higher the flock rises, the downed swallows will start to fly by themselves when lifted off the ground.
Overview